5 Best Way to Remove Support From 3D Print
Aug 03,2023 | 3D4Create
Removing support structures from a 3D-printed part can be one of the trickiest steps to master in the printing process. Since supports touch the model at many points, their removal can damage the surface quality and fine details if not done properly.
Fortunately, there are several techniques to make support removal clean and successful. This guide will explore 5 of the best methods for cleanly removing supports from your 3D-printed objects.
Introduction
Successfully removing supports while inflicting minimal surface damage comes down to two key factors – the support settings when initially generating them, and then the proper tools and techniques used to detach them after printing.
Dialing in optimal support settings makes removal easier, and working slowly and carefully prevents harming delicate overhangs and complex geometries where supports are needed.
Use Proper Support Interface Settings
The interface is the layer where supports make contact with the 3D-printed model. Optimizing interface settings makes removal simpler:
1. Enable Interface Layers
Having a defined number of discrete interface layers creates a weak point for supports to snap away cleanly from the model surface. Interface layers lead to no surface damage.
2. Adjust Air Gap Distance
Setting a small gap distance between supports and the model minimizes surface indentations from too much support contact. But too close may cause unwanted bonding. 0.1-0.3mm is ideal.
3. Choose Sparse Support Patterns
Tree and linear support patterns produce supports with less surface area contact versus dense solid supports. The sparse contact minimizes surface marks.
Carefully Remove Support Structures From 3D Print
When ready to detach supports, take it slowly and methodically:
1. Take Your Time
Rushing the process may damage small overhangs or details on the model surface. Dislodge supports gradually using controlled movements.
2. Use Proper Tools
Needle-nose pliers allow the gripping of small supports in tight areas. Flush cutters neatly slice away support bases at the model surface.
3. Consider Orientation
The direction of support removal matters. Whenever possible, work vertically instead of tearing supports across a surface.

Tools that can help you remove support (photo: i.materialise)
Dissolve Soluble Supports
Soluble support materials simplify removal by dissolving:
1. Water Soluble PVA
PVA plastic supports can be rinsed away in water over 1-2 hours, leaving no trace or residue behind.
2. Soluble HIPS Supports
100% limonene chemically melts and washes away HIPS support material, leaving behind a smooth surface.
Use Breakaway Support Materials
Some thermoplastics offer breakaway properties:
1. Snap Off Support Structures
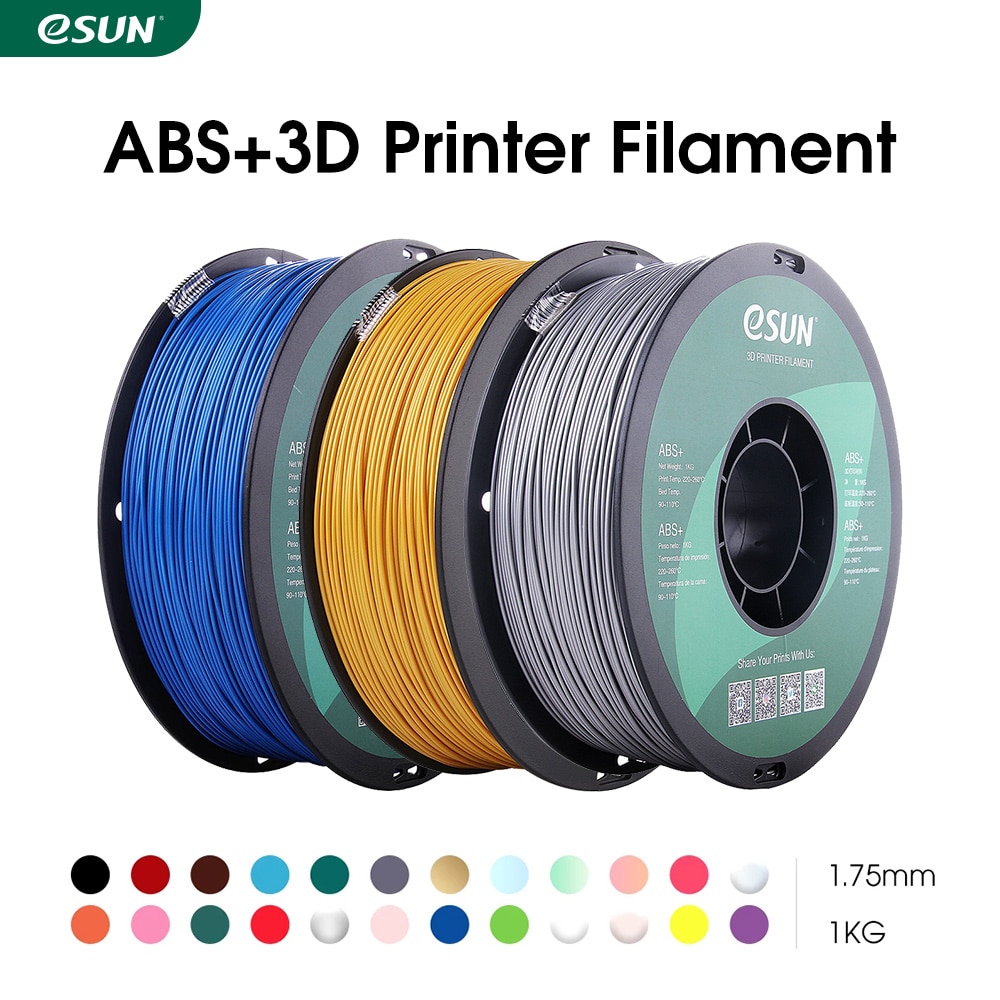
ABS, ASA, and some PVA blends create brittle supports that snap off cleanly with minimal force.
2. ABS, ASA, and PVA+
Filaments like ABS, ASA, and PVA+ break cleanly without much residue.
Finish With Sanding and Polishing
For stubborn marks, sanding and polishing provide final cleanup:
1. Smooth Away Artifacts
Light sanding with fine grit removes any leftover residue or unevenness from supports.
2. Refine Details
Polish out any small defects in delicate features to restore sharp defined edges.
3. Restore Surface Finish
Sanding and polishing bring back a smooth, consistent surface free of blemishes.
Conclusion
Eliminating the headaches of support removal comes down to proper generation settings, choosing removable materials, and taking your time detaching the supports. Follow these best practices, and even the most complex geometries with dense supports become easy to strip away without marring the surface. With the right techniques, support removal can become quick, and painless, and deliver a smooth print ready for admiration.
FAQS:
1. What's the easiest way to remove supports from a complex 3D-printed part?
Using a soluble support material like PVA or HIPS is the easiest method for complex geometries. Dissolving away supports prevents damage to fragile overhangs or details.
2. How can I prevent scaffolding from leaving marks on my print's surface?
Use interface layers and an air gap in your slicer settings. This creates a weak point for support to snap off cleanly. Taking it slow and using proper tools like flush cutters also minimizes surface marks.
3. What support settings should I use for easier removal?
Enable interface layers, use a small air gap, choose sparse support patterns like tree, lower density, and orient the part to allow vertical support removal. These settings produce supports that detach cleanly with minimal surface damage.
See Also
The Ultimate Guide for 3D Printing Supports
How to minimize supports when 3D printing?
4 Best Methods to Clean PLA Residue Off Magnetic Print Bed
Comment