3 Easy Ways to Clean a 3D Printer Nozzle
Aug 03,2023 | 3D4Create
I. Introduction
As lower cost home 3D printers become more accessible, these devices need regular care and maintenance like any other tech gadget to maintain performance over time.
One key maintenance task is keeping the printer nozzle clean. The nozzle is critical - it deposits the melted filament to create objects layer by layer. With frequent use, nozzle tips accumulate debris, burnt material, and general gunk.
In this article, we’ll explore 3 easy methods anyone can use to clean their 3D printer nozzle.
II. Identify the Problem of Your Nozzle
Before cleaning the nozzle, ensure it's actually causing these common print problems:
- No first layer - Could also be bed leveling, Z-offset, or extruder issue
- Nozzle picking up prints - Check bed level and Z-offset too
- Hot end jams - May be caused by hot end path, not just nozzle
- Inconsistent extrusion - Consider wet filament or extruder motor issues
- Under-extrusion - Check for wet filament, loose extruder, poor filament path
- Missing prints - Confirm accurate filament diameter, print temp, and extruder motor function
Verify the nozzle is the root cause before cleaning. Methodically check other potential factors from easiest to most difficult. This avoids wasted effort on an unrelated issue. Once confident the nozzle is dirty, proceed to cleaning methods.

A dirty nozzle can cause many problems
III. Method 1: Use the Atomic Method
The atomic method is one of the easiest ways to clean mild buildup from a 3d printer nozzle. It utilizes three key steps - heating the nozzle, brushing, and cold pulls. Here is how it works:
First, preheat your nozzle to your normal printing temperature, usually 190°C to 220°C for standard filaments. The heat will soften any material stuck on or inside the nozzle. Once up to temp, gently brush the tip of the nozzle with a stiff-bristle brush. Concentrate on any visible material or discoloration. This will loosen and remove deposits while hot.
After brushing, do a cold pull to draw out any remaining material from inside the nozzle. A cold pull involves letting the hot nozzle cool down completely, then re-inserting filament. When the filament has adhered, quickly withdraw it to create suction that will pull out debris. Do a few cold pulls until the extracted filament looks clean.
IV. Method 2: Perform a Cold Nozzle Cleaning
For more stubborn deposits, a cold nozzle cleaning might be required. This involves removing the nozzle while cold and using picks and small drill bits to clear out accumulated gunk. Here are the steps:
First, detach the filament from the extruder and remove the nozzle. If needed, refer to your printer manual for specifics on how to properly remove your make and model of nozzle. Once detached, examine the nozzle tip and use needle nose pliers or tweezers to remove any debris or material adhered around the tip opening.
Next, insert a thin drill bit or needle into the nozzle cavity to clear out any blockages inside. Twist and push the bit all the way through to force out debris. Repeat with bits of increasing diameter if needed to clear stubborn clogs.
Finish by rinsing the nozzle in isopropyl alcohol or another solvent to remove any remaining residue. Make sure the nozzle is completely dry before reattaching to your printer.

Use a needle to clean the nozzle (Source: Tom's 3D)

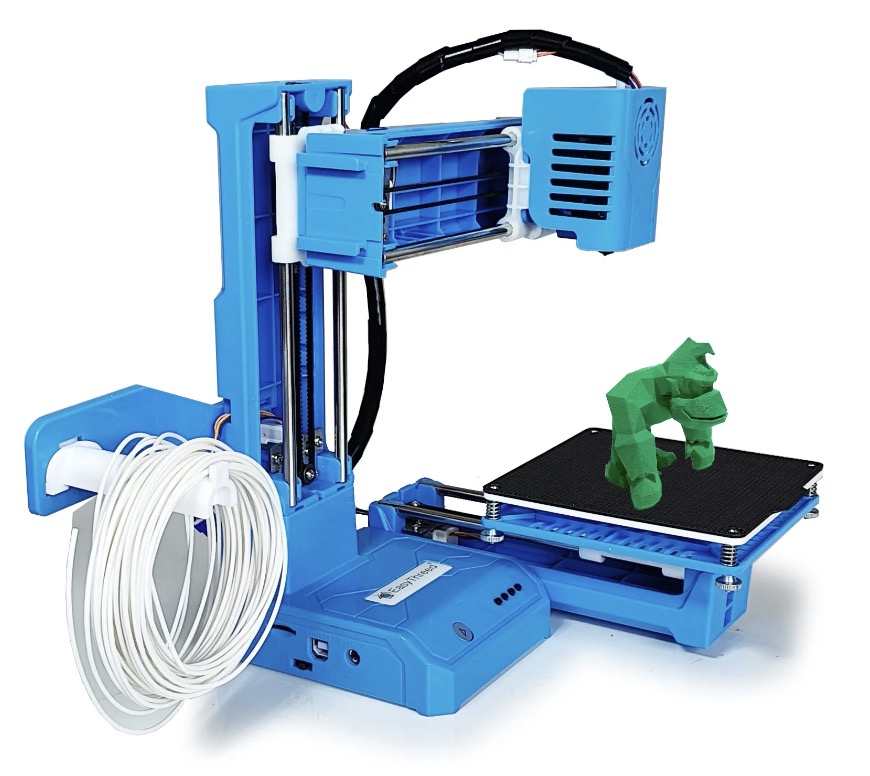
EasyThreed Extruder Kit with Nozzles
V. Method 3: Do a Full Disassembly and Cleaning
For the most comprehensive 3d printer nozzle cleaning, a full disassembly is recommended. This allows cleaning of not just the nozzle but the entire hot end assembly. Follow these in-depth steps:
Start by detaching the nozzle as described in method 2. Then refer to your printer manual and begin carefully disassembling the hot end components. This usually includes the heater block, heater core, thermistor and any insulation. Completely remove the nozzle assembly from the hot end.
With full access, use small wire brushes, drill bits, and picks to thoroughly clear any debris from the nozzle cavity, heater block, and other components. For plasticized gunk, soaking in isopropyl alcohol or acetone can help dissolve before scrubbing away.
Carefully inspect all components and passages for any remaining residue. Flush out with solvents and use compressed air if possible. Reassemble the hot end with a clean, replacement nozzle once everything is fully cleaned.
VI. How to Prevent 3D Printer Nozzle Clogs
Routine maintenance prevents headache of fully clogged nozzles. Take proactive measures for consistent performance.
- Use cleaning filament regularly to clear nozzle debris. Extrude until white filament emerges. Though pricier, a small amount effectively prevents clogs after 100-200 print hours.
- Replace worn nozzles often, especially if using abrasive filaments. The friction causes damage over time. New nozzles ensure precision.
- Fix any gap between the PTFE tube and nozzle in the hot end. This prevents plastic buildup and jams. Cut the tube flush and replace worn pneumatic couplings.
- Use high-quality filament to avoid impurities that can clog nozzles. Though more costly, it improves print quality and saves time.
- Keep filament clean and dust-free. Store properly after printing. Enclose printers to prevent dust accumulation during printing.
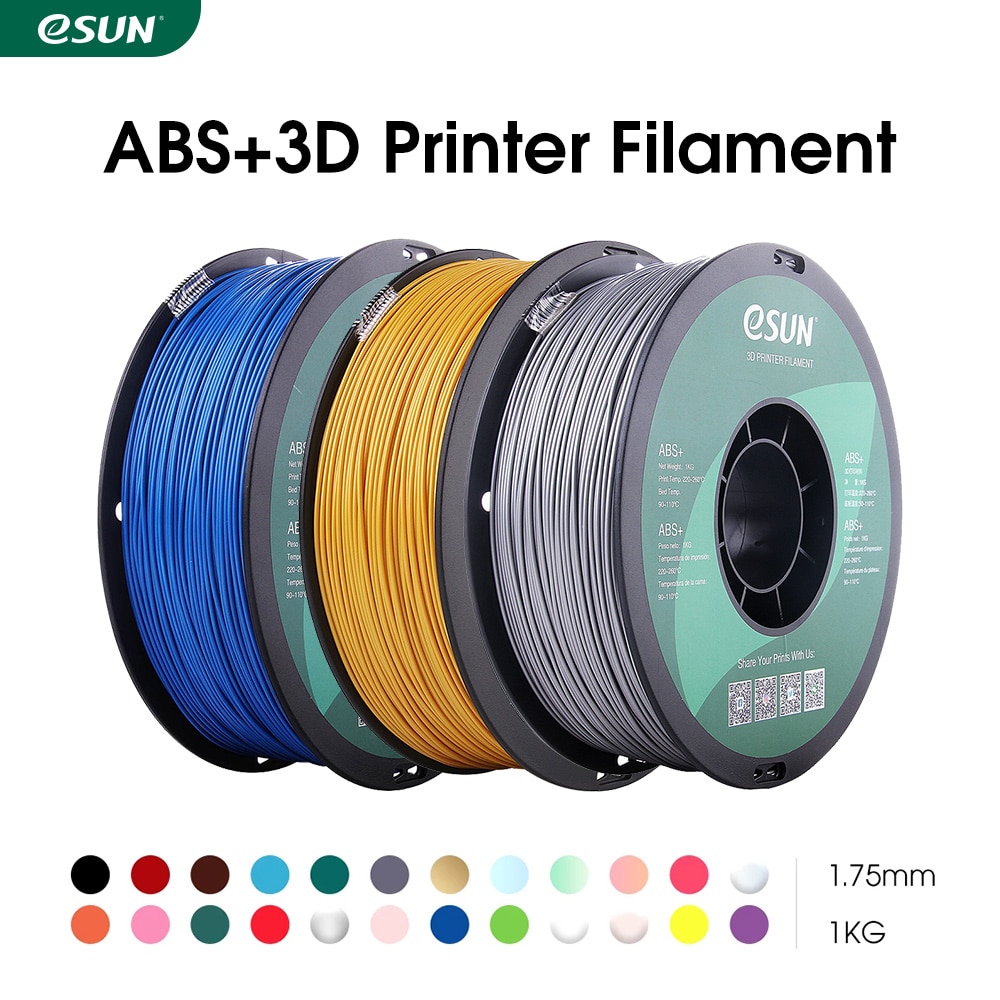
eSUN ABS+ Filament for 3D Printer 1.75mm 1KG
VII. Conclusion
Keeping a clean 3d printer nozzle is essential for maintaining print quality and performance. Letting plastic and debris accumulate can quickly compromise your printer’s health. For light buildup, atomic cleaning provides a quick way to clear a nozzle. For tougher jobs, cold and full disassembly cleanings give you the power to dissolve and scrub away the worst gunk.
Implementing regular nozzle cleanings helps you get the best possible prints. Your 3D printer nozzle is a wear component that requires care and maintenance. Follow these 3 cleaning techniques, and you’ll keep your nozzle in great shape for many prints to come!
FAQS:
1. What is the best way to clean a 3D printer nozzle?
Using a specialty 3D printer cleaning filament and heating to print temperature is very effective. Simply load and extrude until clean filament emerges. Other options are needle tools, torch lighter, or soak in solvent.
2. How do you clean printer nozzles?
Common methods to clean clogged nozzles include using cleaning filament, needle tools to clear blockages, heating with a torch lighter, or soaking the nozzle in solvents like acetone. Replace nozzle if these don't restore performance.
3. How do you do a 3D printer nozzle soak?
For a nozzle soak, remove the nozzle and place it in a compatible solvent like acetone or MEK for a few hours. This helps dissolve any built up plastic gunk. Rinse and dry before reattaching the nozzle when done.
See Also:
Unclogging 3D Printer Nozzles: Most Practical Guide
How to Dissolve PLA to Clean 3D Printer Nozzles?
4 Best Methods to Clean PLA Residue Off Magnetic Print Bed
Comente