How to Fix Adhesion Issues for Your 3D Printer Heated Bed
Oct 27,2023 | 3D4Create
Are you struggling to get your 3D prints to properly stick to the print bed? Do your models detach mid-print or warp up from the build plate? If poor bed adhesion is ruining your prints, you’re not alone.
With the right techniques and maintenance, you can fix those frustrating adhesion issues for good. This comprehensive guide tackles the common causes of bed adhesion problems and provides actionable solutions to help you succeed with your prints.

I. Understanding Adhesion Issues
Adhesion is crucial for the first layer of the print to securely adhere to the bed surface during printing. Factors that can affect adhesion include improper bed leveling, insufficient bed temperature, unsuitable print surface material, and incorrect filament settings.
- Bed leveling ensures that the printing surface is even and parallel to the nozzle, allowing for consistent contact between the filament and the bed.
- Insufficient bed temperature can lead to weak adhesion or detachment of the print from the bed.
- The choice of print surface material, such as glass, PEI sheets, or adhesive surfaces, affects adhesion properties as different materials offer varying levels of grip.
- Filament settings, including extrusion temperature, print speed, and layer height, can also impact adhesion.
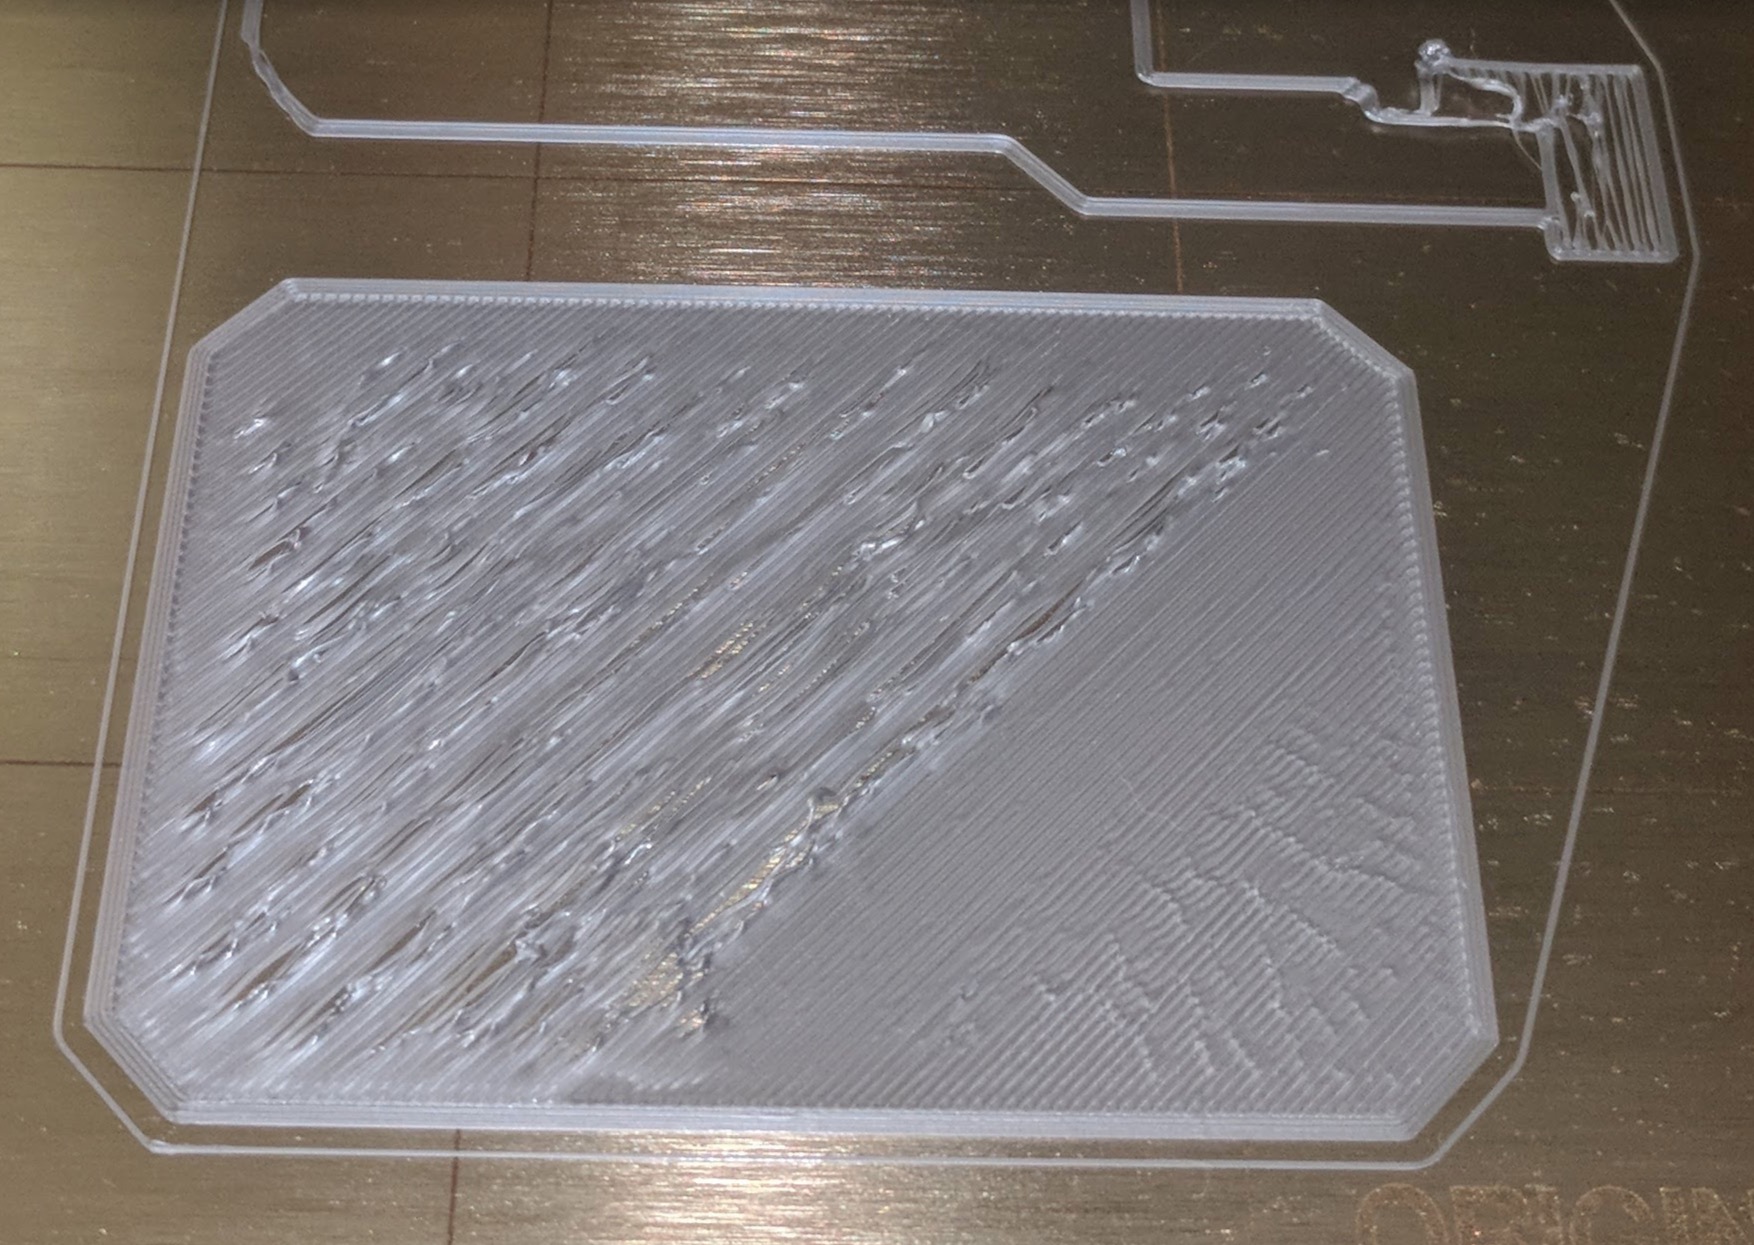
Adhesion issues can ruin your 3D print (photo: Prusa3d)
II. Troubleshooting Adhesion Problems
1. Cleaning the Heated Bed
To clean the heated bed, start by letting it cool down completely. Then, use a soft cloth or sponge with isopropyl alcohol to gently wipe away any debris or residue. Avoid using harsh chemicals or abrasive materials that could damage the bed.
2. Adjusting Bed Temperature
Different materials require varying bed temperatures for optimal adhesion. If you're experiencing poor bed adhesion, consider increasing or decreasing the bed temperature based on the material you're using. Additionally, some slicer software allows for adjusting the bed temperature during specific layers of your print.

3. Choosing the Right Print Surface Material
Common print surfaces include glass beds, PEI sheets, Kapton tape, and more. Glass beds provide a smooth and flat print surface but can be challenging to install and are prone to cracking. PEI sheets offer excellent adhesion properties and are easy to install, but they come at a higher cost. Kapton tape provides a textured print surface that works well with some materials and requires periodic replacement.
4. Calibration and Bed Leveling
Calibration involves adjusting various settings, such as the nozzle height and flow rate, to achieve accurate prints. Bed leveling, which includes manual leveling and auto leveling, on the other hand, focuses on ensuring that the print bed is perfectly level and at the correct distance from the nozzle. This process helps to prevent issues like warping and poor adhesion.
5. Optimizing Filament Settings
Filament settings such as print temperature, print speed, and retraction distance can all impact adhesion and overall print quality.
For example, using a higher print temperature can improve layer bonding, while a lower print speed allows for better extrusion control and more precise prints. Retraction distance also affects adhesion as it determines how much filament is pulled back when moving between printed areas.
IV. Prevention and Maintenance Tips for Adhesion
Prevention and maintenance are both very important for better bed adhesion.
- Clean the print bed: Regularly clean the print bed using isopropyl alcohol or a mild detergent to remove any residue, dust, or oils that may affect adhesion.
- Use a primer or adhesive spray: Applying a thin layer of adhesive such as hairspray, glue stick, or specialized 3D printing adhesives can improve adhesion, especially for materials like ABS.
- Inspect the print surface: Periodically inspect the print surface for any damage, such as scratches or build-up, which can impact adhesion. Replace or repair damaged surfaces as needed.
- Store filament properly: Keep filament in a dry and dust-free environment to prevent moisture absorption, which can lead to poor adhesion. Consider using desiccant packs or airtight storage containers.

SUNLU S2 3D Printing Filament Dryer Box
IV. Conclusion
Achieving proper adhesion is paramount for successful 3D prints. By understanding the factors influencing adhesion and implementing the troubleshooting techniques discussed in this guide, you can overcome adhesion issues and achieve high-quality, reliable prints.
With patience and the right techniques, you'll unlock the full potential of your 3D printer and unleash your creativity!
FAQS:
Q1: Why is my print not sticking to the heated bed?
A1: There could be several reasons for poor adhesion. First, make sure the bed surface is clean and free from oils or debris. Secondly, check if your print bed is leveled properly; an incorrect leveling can lead to uneven adhesion. Additionally, ensure that you have selected the appropriate print surface material for the filament you are using. Lastly, adjusting the print temperature, increasing bed temperature, or using an adhesive like hairspray or glue stick can help improve adhesion.
Q2: What should I do if my prints keep warping or lifting at the corners?
A2: Warping or lifting at the corners often indicates poor adhesion. To address this issue, start by cleaning the print bed thoroughly. Ensure the bed is properly leveled, as an uneven bed can cause uneven adhesion and subsequent warping. Increasing the bed temperature for materials like ABS or using a heated enclosure can also help prevent warping.
Q3: What can I do if my prints are sticking too well to the heated bed?
A3: If your prints adhere excessively to the heated bed, it can be challenging to remove them without causing damage. To tackle this issue, try lowering the bed temperature slightly to reduce adhesion. Applying a thin layer of a release agent like isopropyl alcohol or using a specialized 3D printing adhesive release spray can also help in detaching prints more easily.
See Also:
PLA, ABS, Nylon & PETG Shrinkage & Compensation: Essential Facts
Optimize Your PLA Prints: Settings and Tips for Better Quality
3D Print with ABS: 5 Tips for Perfect Prints
Comment


